
All Reviews you create are organized into Projects and, in turn, all Projects can be organized by Client (or alternative category that can be selected from the Configuration menu).
The default Client for any Project is your own organization so if you're only using ReviewStudio for internal review then it may not be necessary to define additional clients.
By default, Reviews created for a Project may be shared with any of the users that you've created for your organization (access to the Review will then be restricted to only those users).
But if, as an Admin or Manager, you would like to restrict the sharing of a Review to only a specific subset of users then you have the option to define a specific team of users for that Project.
New Projects and Project Teams may be defined only by an Admin or Manager. To do this, go to Settings > Projects > New.
To Create a New Project
-
Click on “New” above the projects list.
-
Enter the name of a new project and select the Client to associate to that Project.
-
Click Create.

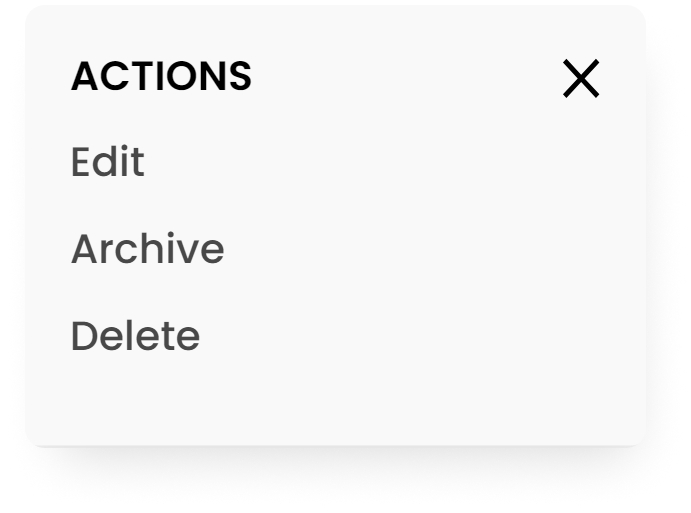
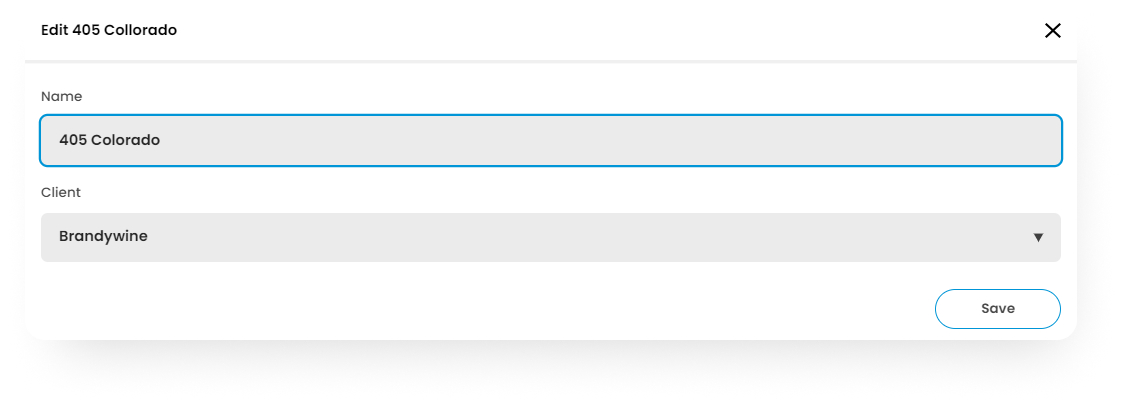
To Edit an Existing Project or Review
-
Click the menu to the far right of the project name and click "Edit" .
-
Edit the Project name and/or change the Client for the Project.
-
Click Save
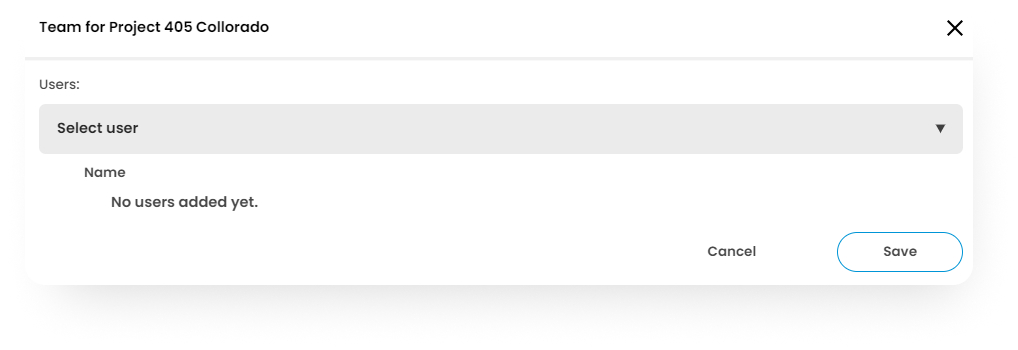
To Define a Project Team
-
Click on the + button for the project.
-
Use the dropdown menu to select the users you wish to add to the Team. If a Team is defined, then only these users will be able to create new Reviews and participate in Reviews created for that Project.
-
To delete a user from the Team, click on the red X button next to their name.
-
Click “Save”.
To Delete a Project
-
Click the menu to the far right of the project name and click “Delete".
-
You will require a confirmation to delete the Project and all its associated Reviews. Click “Delete”.
To Archive a Project
Archiving a project is a great way to maintain a focused dashboard. Periodically archiving projects that are complete will make it easier to manage your account.
For more on archiving or restoring Archived Projects and Reviews, see this article.